What Is the Self Healing Tool?
The Self Healing Tool is an AI-powered code refactor assistant built into Scraper Studio. When your scraper breaks due to a site structure change, or when you need to add or remove output fields, the tool rewrites the relevant parts of your collector’s code based on a plain-language prompt - so you don’t need to dig into the code manually.Prerequisites
Prerequisites
- An active Bright Data account
- An existing scraper in Scraper Studio (Development mode saved version)
- Access to the Scraper Studio IDE
Open the Self Healing Tool
In your Scraper Studio IDE, locate the Self Healing Tool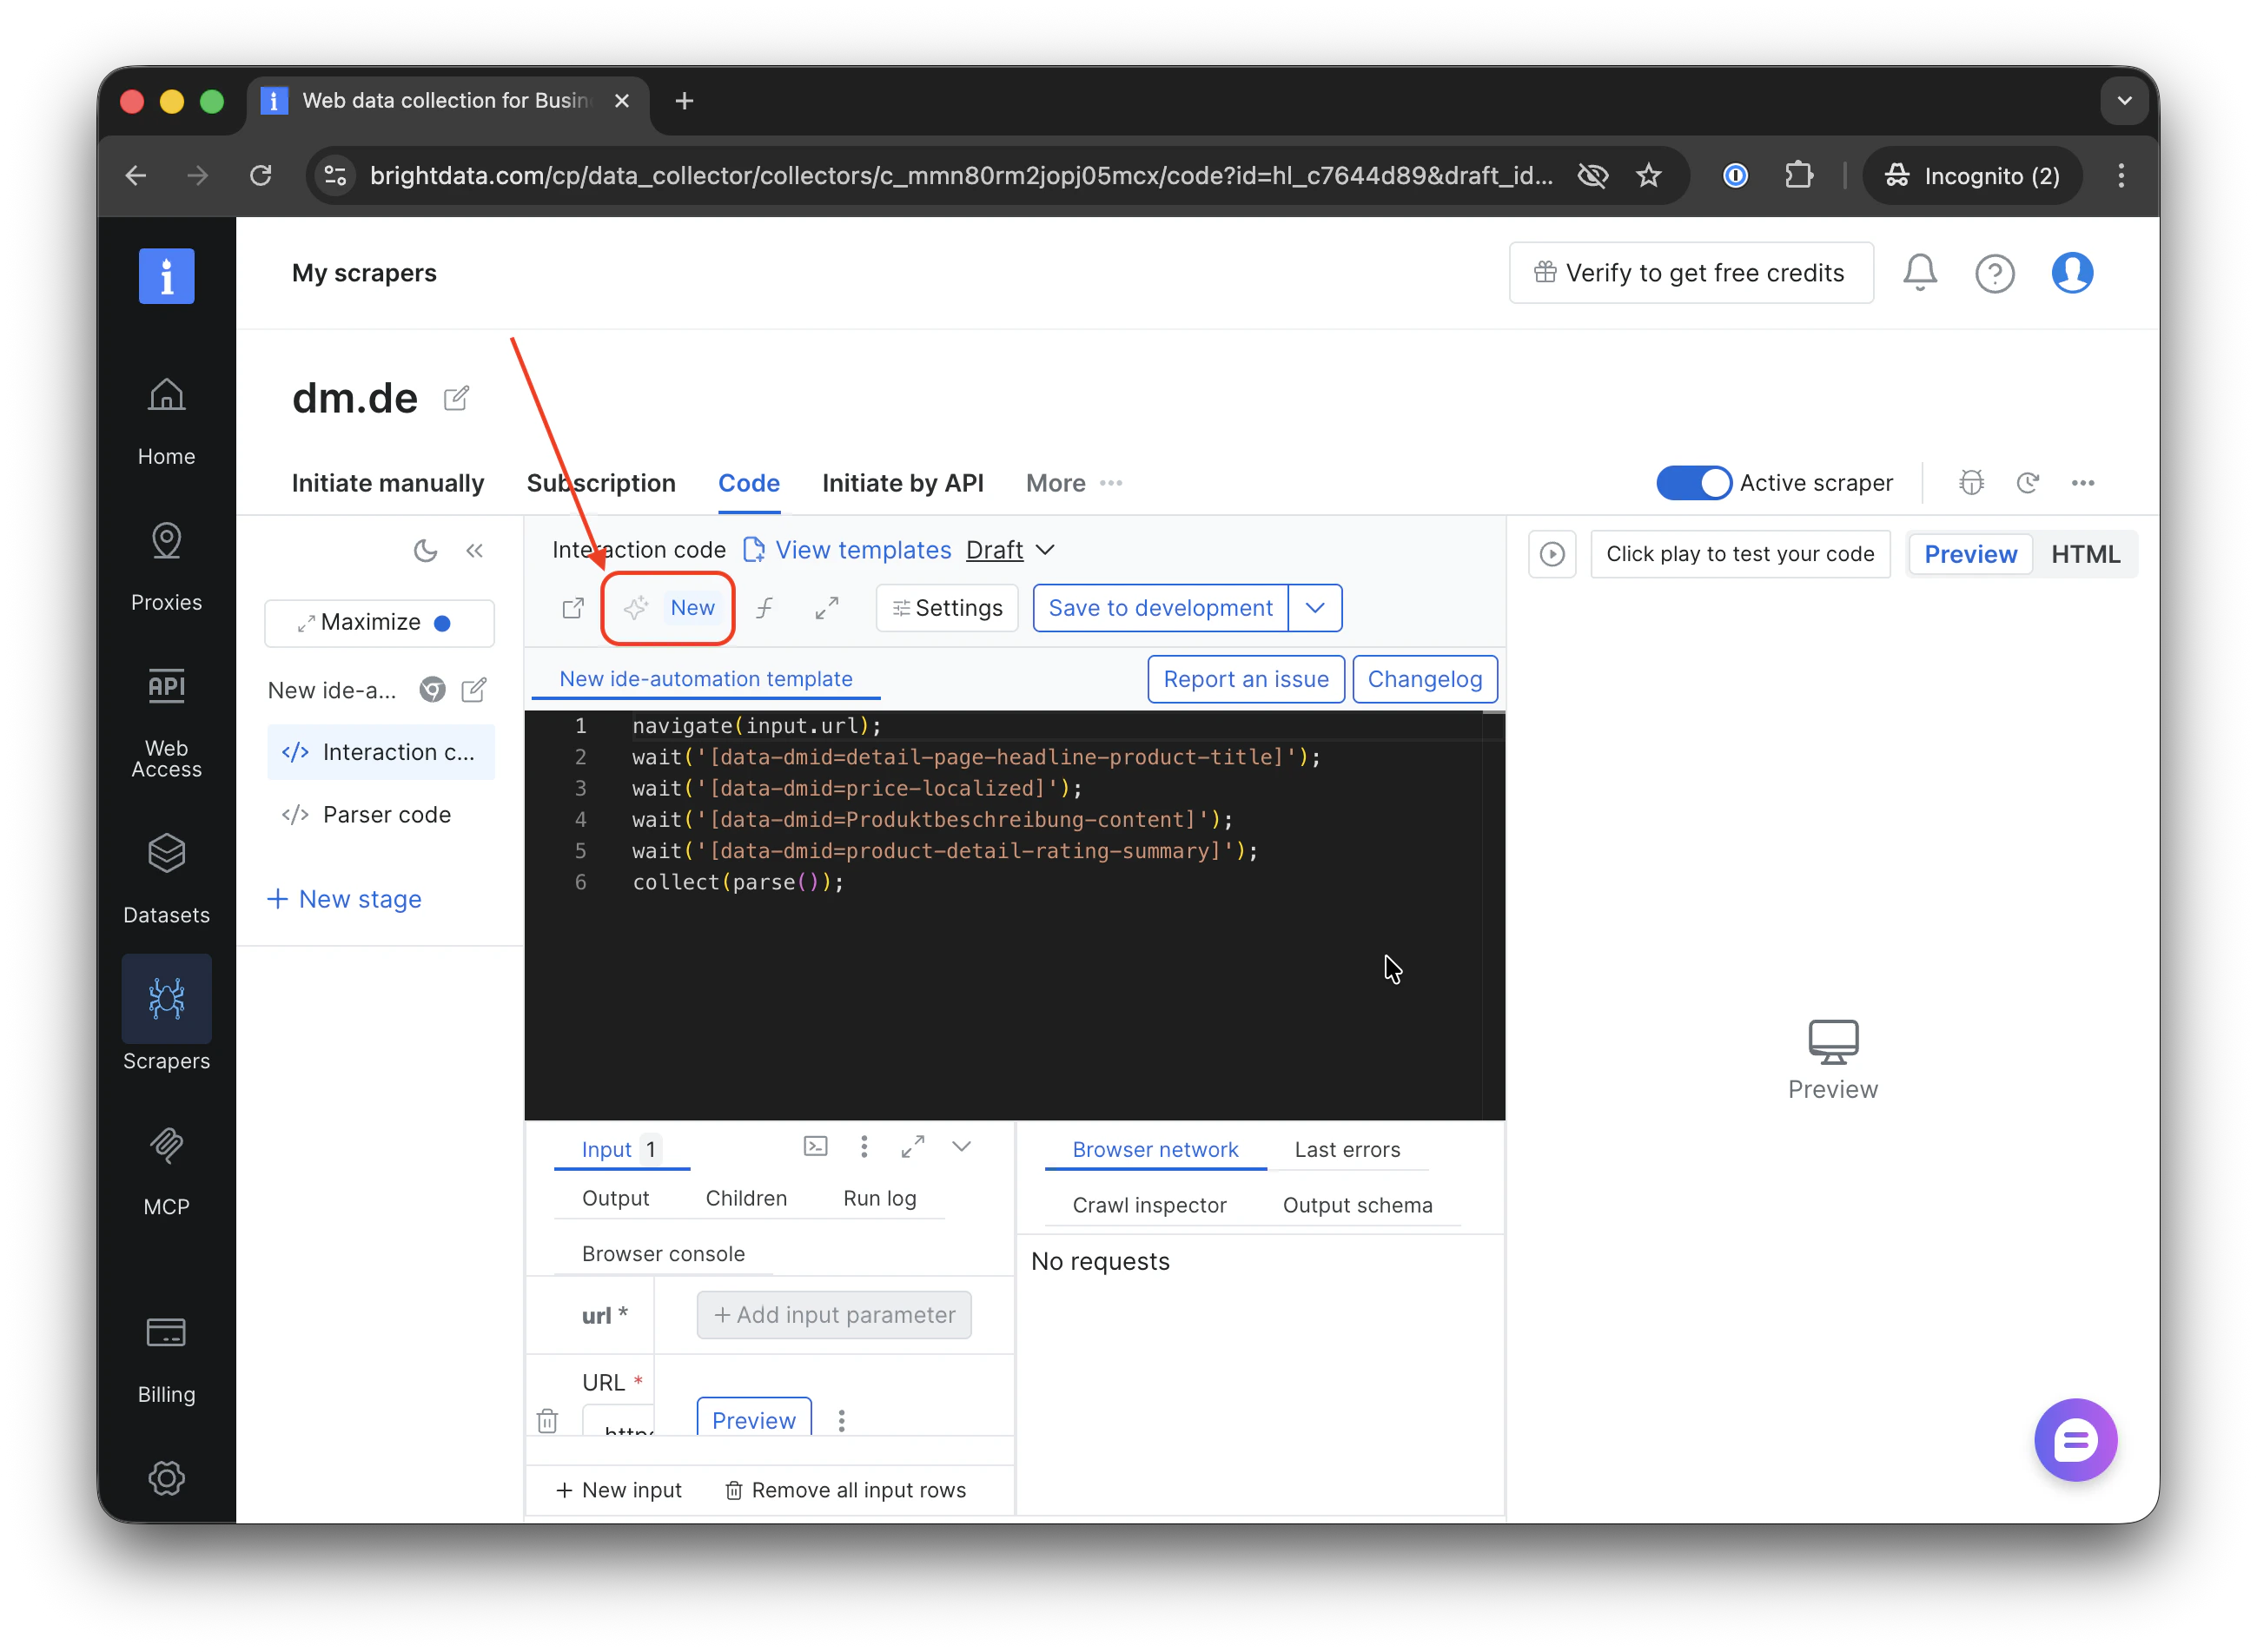
Expected result: You should see a text input field, ready to accept your instruction.
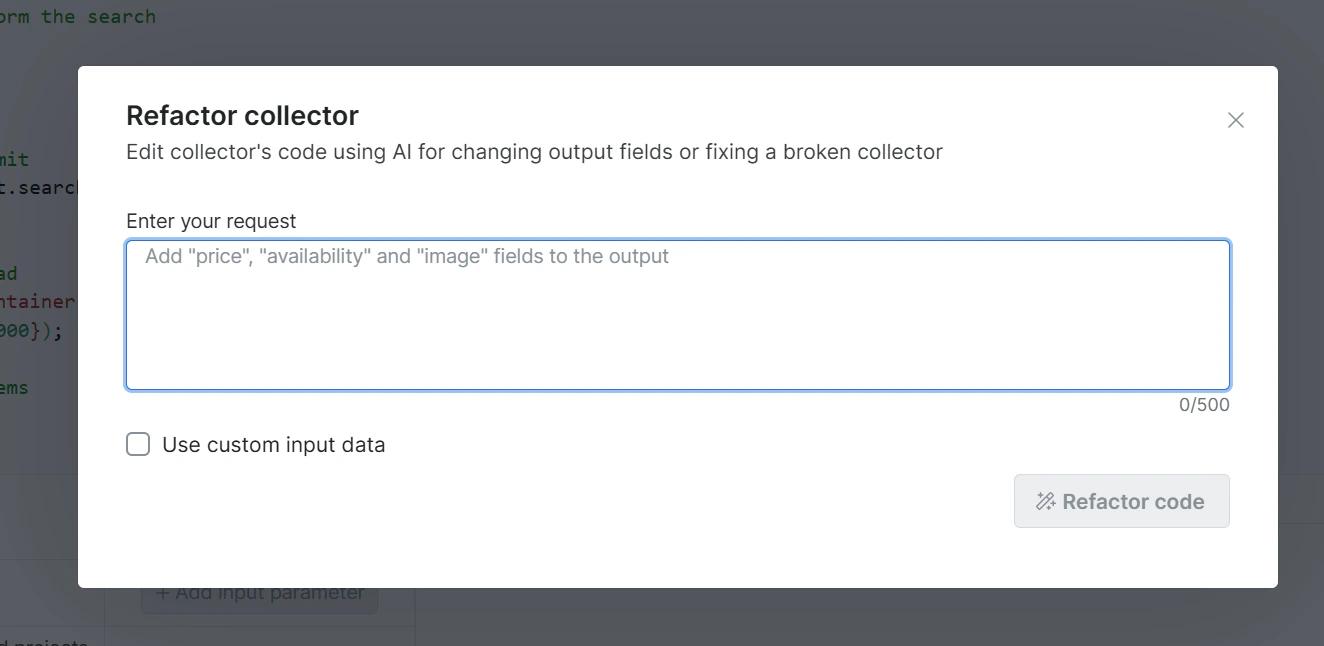
Describe the Fix or Change You Need
Type your request in plain language into the prompt field. Be specific about what is broken or what you want to add.
Example prompts:
Expected result: The AI processes your prompt and generates a proposed code change, highlighted as a diff in the editor.
You don’t have to stay on the page while the Self Healing Tool processes your request, it can take up to 15 mins. Once the AI refactoring is complete, you’ll receive an email notification so you can come back and review the proposed changes at your convenience.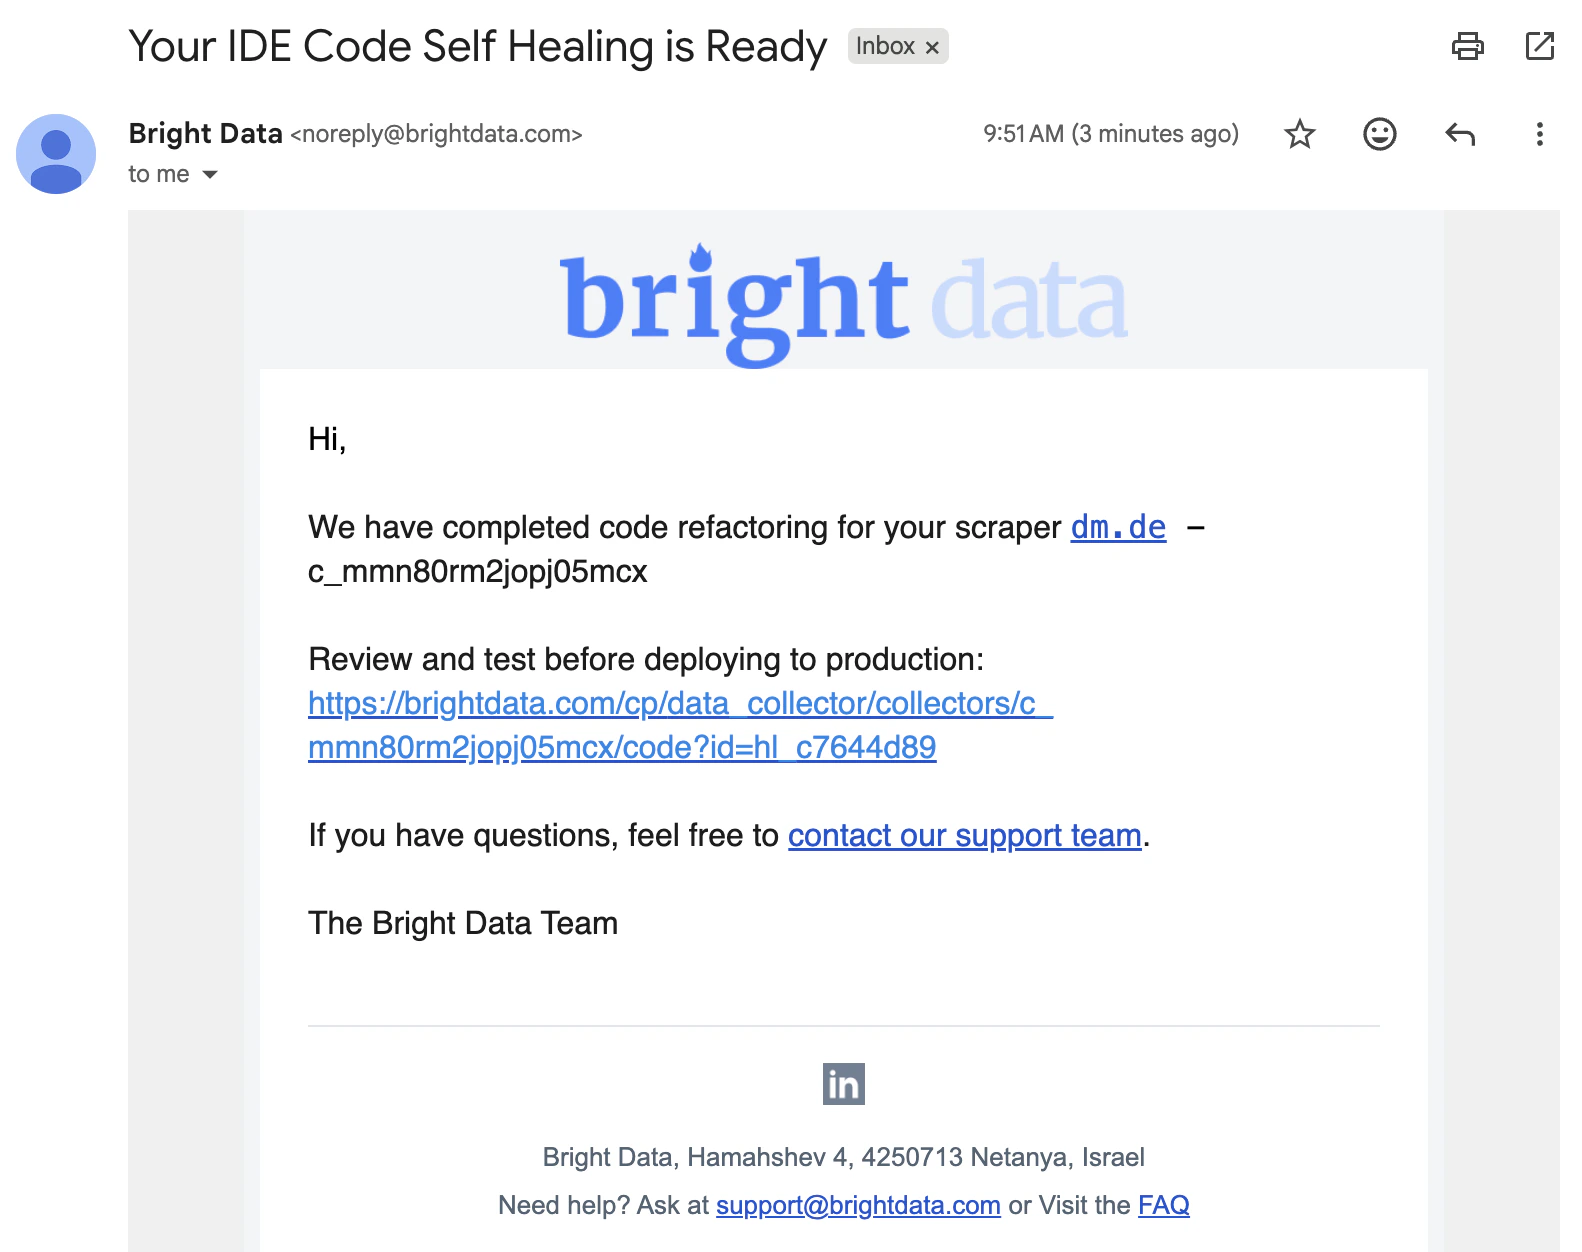
Review the Proposed Changes
Examine the AI-generated diff in the code template. Verify the changes match your intent before accepting.
- ✅ Accept - Saves the changes to a draft
- ❌ Decline - Discards the suggestion; your original code remains unchanged
Expected result: If accepted, the editor reflects the updated code and saves it to the draft
Run a Preview
After accepting the changes, run a Preview to validate that the scraper is returning the expected data correctly.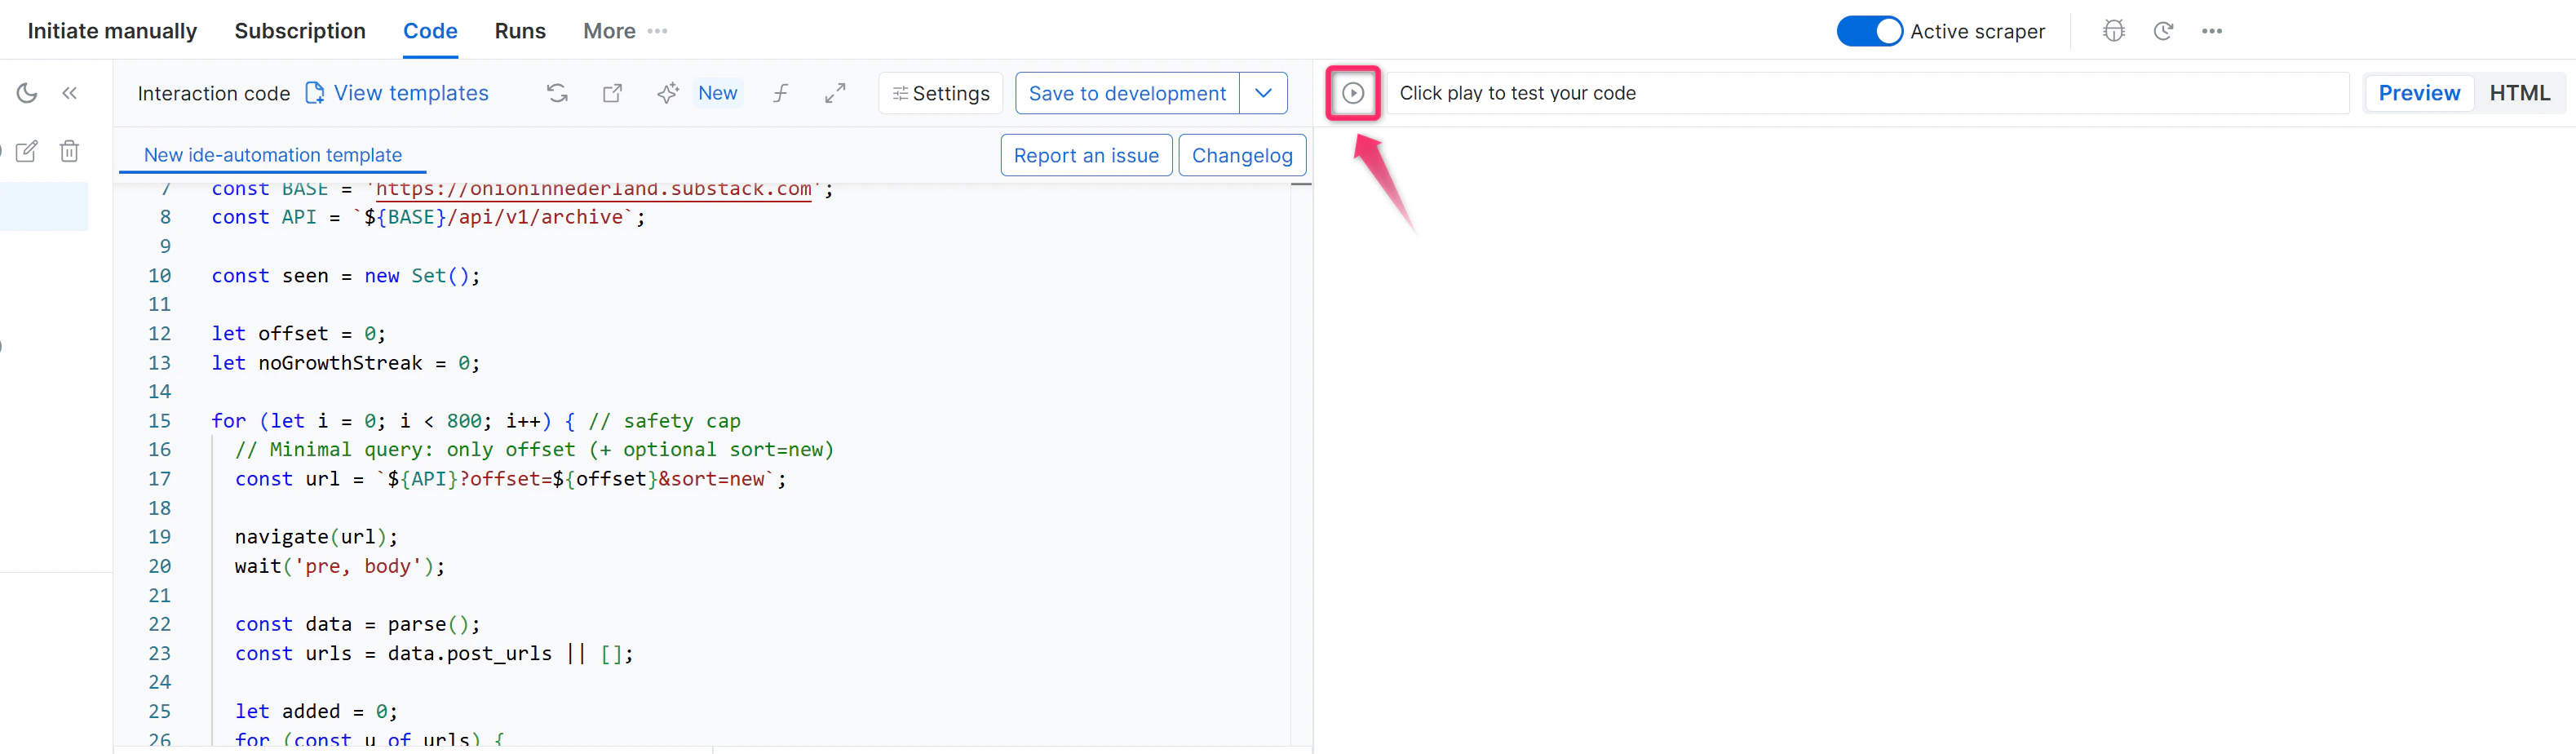
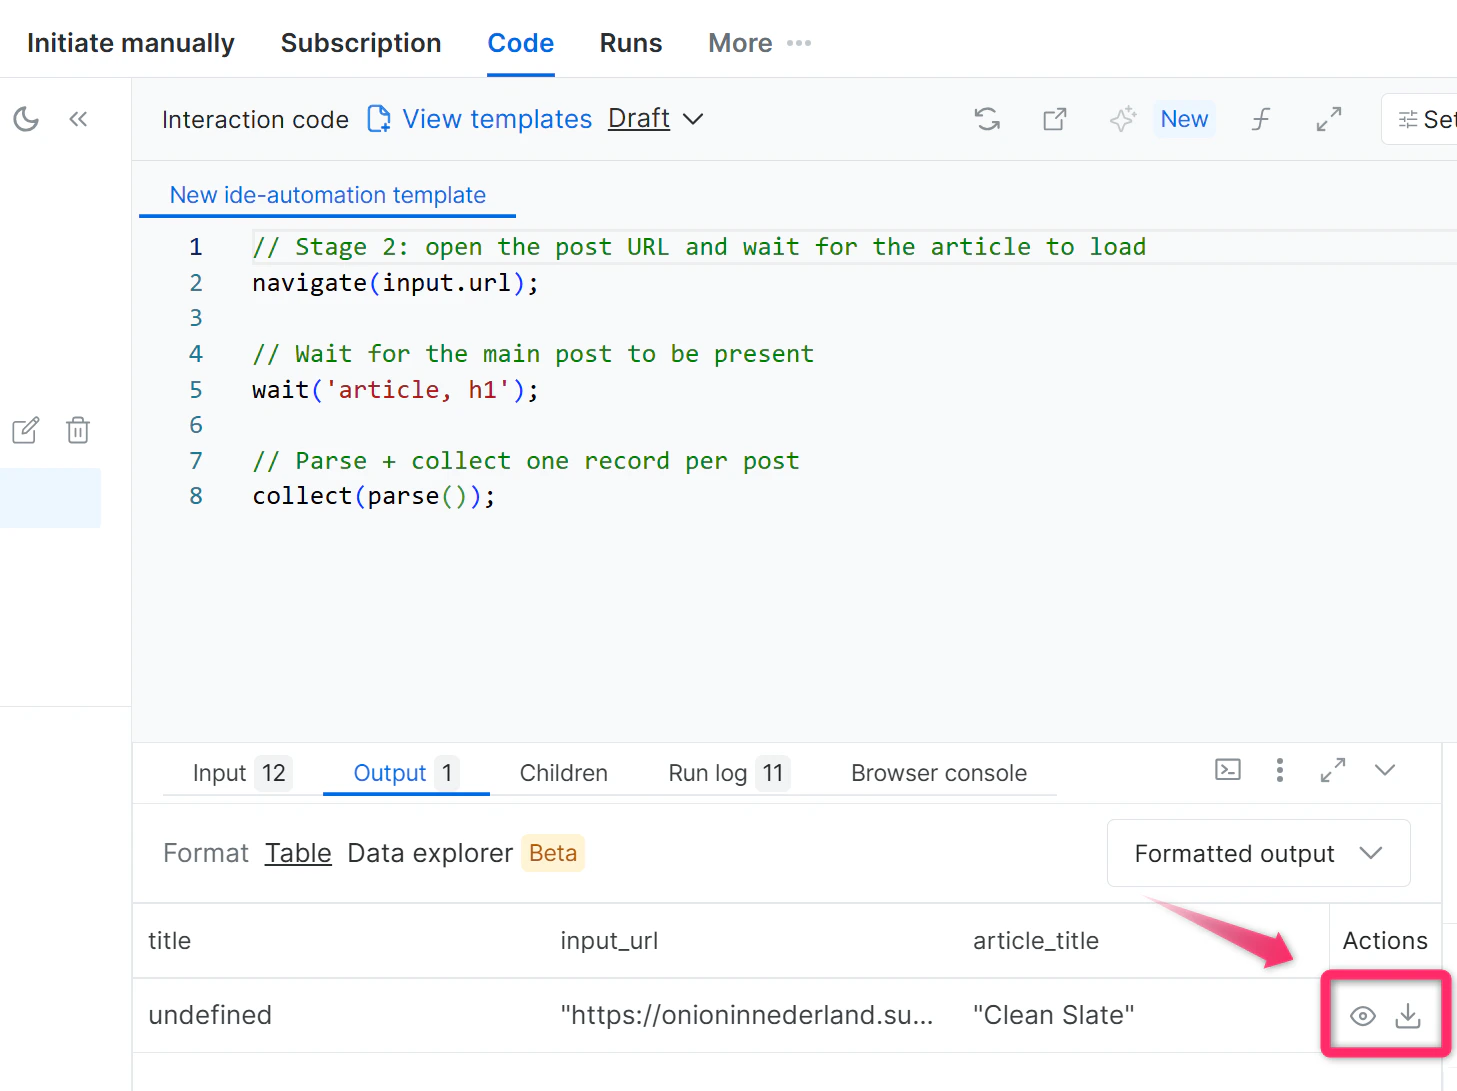
Expected result: Your output file includes the newly added/fixed fields with valid, non-undefined values.
Save to Production
Once the Preview confirms the data is correct, save the scraper to Production.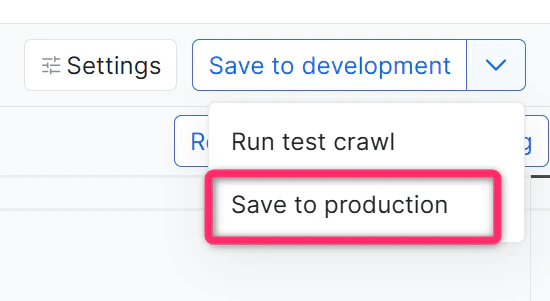
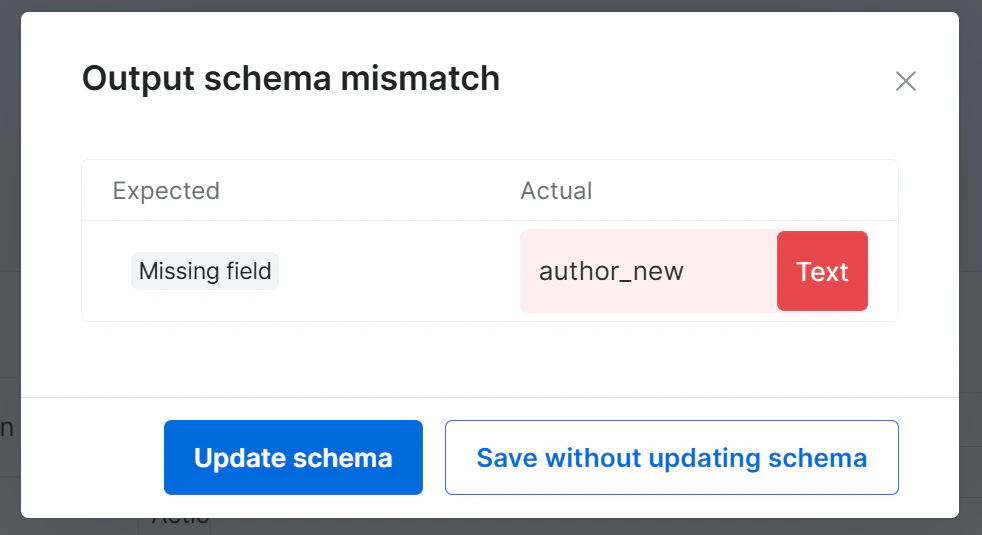
If you added/renamed fields, you will be prompted to update the schema. Click Update Schema, then click Save to Production.
Expected result: The refactored/fixed scraper is live and ready to collect data with the new configuration.
Troubleshooting
| Problem | Likely Cause | Resolution |
|---|---|---|
| AI-generated code doesn’t fix the issue | Prompt was too vague | Re-prompt with more specific field names or error descriptions |
| Preview still returns undefined values | Target site structure changed | Inspect the live page and include the expected HTML element hint in your prompt |
| Changes not reflected after accepting | Browser cache issue | Refresh the IDE and re-check Development mode |